Setting up QuickBooks for small business accounting can seem daunting. But it’s essential for keeping your finances in order.
How To Set Up QuickBooks For Small Business Accounting! In this guide, you’ll learn the simple steps to get started with QuickBooks. Small business owners often struggle with managing finances. QuickBooks can simplify this process, making it easy to track expenses, generate invoices, and manage payroll. Whether you’re new to accounting software or switching from a different system, QuickBooks offers tools to streamline your financial tasks.
This introduction will walk you through the basics, ensuring you have a solid foundation to build on. With a clear setup, you’ll save time and avoid costly errors, allowing you to focus on growing your business. Let’s dive into how to set up QuickBooks for your small business accounting needs.
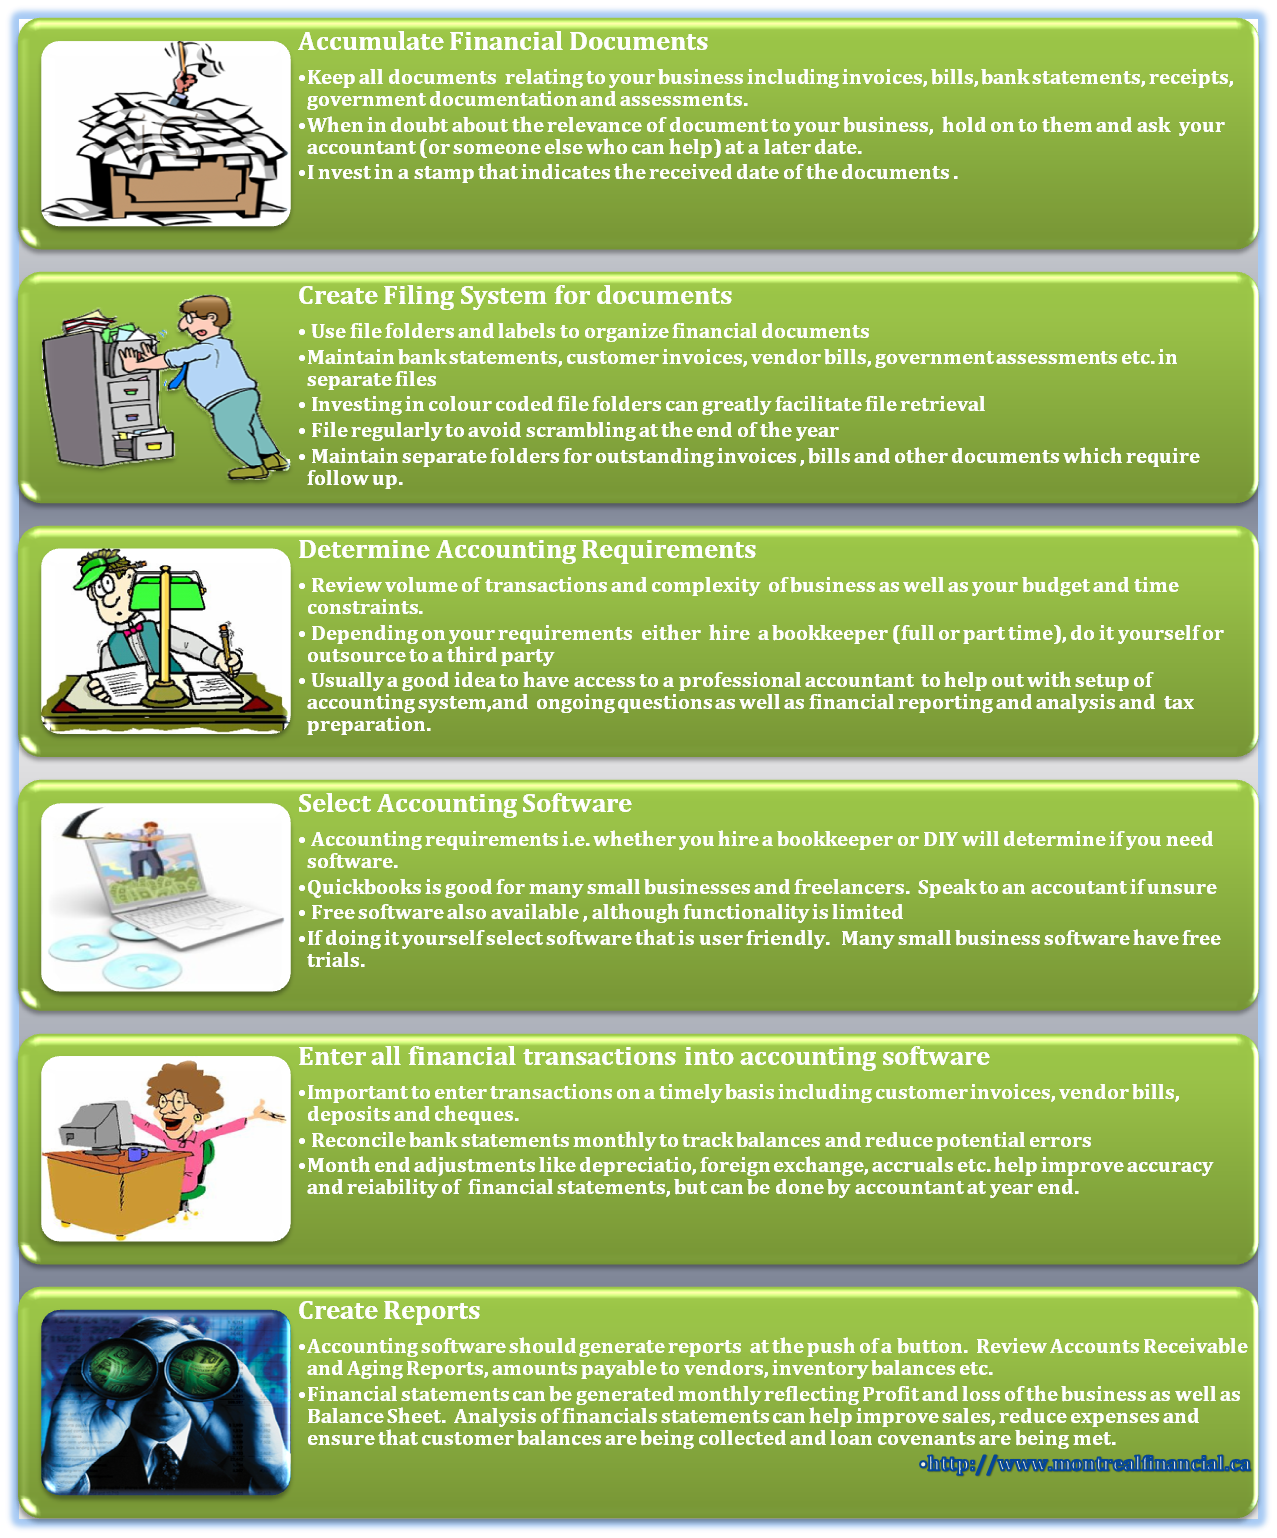
Credit: www.montrealfinancial.ca
Introduction To Quickbooks
QuickBooks is a popular accounting software. It helps small businesses manage their finances. Setting up QuickBooks can streamline accounting tasks. This saves time and reduces errors. Let’s explore why QuickBooks is beneficial for small businesses.
Benefits For Small Businesses
QuickBooks offers many benefits to small businesses. First, it simplifies bookkeeping. You can easily track income and expenses. This helps you stay organized.
Another benefit is invoicing. QuickBooks lets you create and send invoices quickly. You can also set up automatic reminders for overdue payments. This helps you get paid faster.
QuickBooks also offers payroll management. You can pay employees and calculate taxes. This ensures compliance with tax laws.
Lastly, QuickBooks provides financial reports. These reports give you insights into your business performance. You can make informed decisions based on this data.
Quickbooks Versions Overview
QuickBooks offers different versions to meet your needs. The most common versions are QuickBooks Online and QuickBooks Desktop.
QuickBooks Online is a cloud-based version. You can access it from any device with internet. It is suitable for businesses that need flexibility.
QuickBooks Desktop is installed on your computer. It offers more advanced features. This version is ideal for businesses with complex accounting needs.
There is also QuickBooks Self-Employed. This version is designed for freelancers. It helps track income, expenses, and tax deductions.
Each version has its own features. Choose the one that best fits your business needs.
System Requirements
Setting up QuickBooks for small business accounting begins with understanding system requirements. Proper system setup ensures smooth software operation. It also prevents future technical issues. This section will guide you through the necessary hardware and software requirements.
Hardware Requirements
QuickBooks needs a reliable computer to function well. Ensure your computer has at least a 2.4 GHz processor. More speed means better performance. You need at least 4GB of RAM. With more RAM, QuickBooks works faster. Ensure your computer has 2.5GB of free disk space. This space is for QuickBooks installation and data files.
QuickBooks also needs a decent display. A screen resolution of 1280×1024 or higher works best. This ensures all features display correctly. Remember, you need a good internet connection. This is vital for updates and cloud features. A printer is handy for printing invoices and reports.
Software Compatibility
QuickBooks works best with specific operating systems. Windows 8.1, Windows 10, or Windows 11 are recommended. Make sure your operating system is up-to-date. QuickBooks is also compatible with Mac OS. Ensure you have Mac OS X v10.15 (Catalina) or later.
QuickBooks works with various web browsers. Google Chrome, Mozilla Firefox, and Internet Explorer 11 are ideal. Ensure your browser is updated to the latest version. For email, QuickBooks supports Microsoft Outlook 2010 to 2019. Also, it works with Gmail, Yahoo Mail, and Outlook.com.
For optimal performance, use Microsoft Office 2010 or later. Office integration helps with exporting reports and data. Finally, ensure you have Adobe Acrobat Reader installed. This is necessary for viewing PDF reports generated by QuickBooks.
Creating A Quickbooks Account
Creating a QuickBooks Account is the first step towards efficient small business accounting. This process is straightforward and user-friendly. In this section, we will guide you through the steps necessary to get your QuickBooks account up and running.
Sign-up Process
Starting with the Sign-Up Process is simple. Follow these steps to create your QuickBooks account:
- Go to the QuickBooks website.
- Click on the “Sign Up” or “Get Started” button.
- Enter your email address and create a password.
- Fill in your business details, such as name and address.
- Choose the QuickBooks plan that suits your business needs.
Once you complete these steps, you are ready to move to the next stage.
Account Verification
After signing up, the next step is Account Verification. This ensures the security of your account. Follow these steps to verify your account:
- Check your email for a verification link from QuickBooks.
- Click on the verification link.
- Log in to your QuickBooks account using your credentials.
- Follow any additional instructions provided on the screen.
Verification is necessary to secure your account and protect your business data.
Once verified, you can start using QuickBooks for your small business accounting.
Setting Up Company Information
Setting up QuickBooks for your small business accounting begins with entering accurate company information. This is a critical first step. It ensures your financial data is accurate and compliant with regulations. Let’s walk through the process of setting up your company information in QuickBooks.
Entering Business Details
First, you need to enter your business details. Follow these steps to get started:
- Open QuickBooks and go to the Company menu.
- Select My Company.
- Click the Edit icon next to your company name.
In the Company Information window, fill in the following details:
- Company Name
- Legal Name (if different from company name)
- Address
- Phone Number
- Website
Ensure all information is correct. This data will be used in your invoices, reports, and other documents.
Configuring Fiscal Year
Next, you need to configure your fiscal year. This helps QuickBooks generate accurate financial reports. Follow these steps:
- Go to the Company menu and select My Company.
- Click the Edit icon next to your company name.
- In the Report Information section, choose your Fiscal Year Start Month.
- Click OK to save your changes.
Setting your fiscal year helps in tracking your financial performance over a specific period. It is crucial for tax reporting and compliance.
By following these steps, you ensure that your QuickBooks setup is tailored to your business needs. Accurate setup leads to reliable financial records.
Connecting Bank Accounts
Setting up QuickBooks for your small business accounting can streamline your financial management. One of the key steps is connecting your bank accounts. This allows QuickBooks to automatically import transactions, saving you time and reducing errors.
Linking Accounts
To link your bank accounts in QuickBooks, follow these steps:
- Log in to your QuickBooks account.
- Navigate to the ‘Banking’ tab.
- Click on ‘Add Account.’
- Search for your bank from the list.
- Enter your bank login credentials.
- Authorize QuickBooks to connect to your bank.
Once connected, QuickBooks will sync your bank transactions. This ensures your financial data is always up to date.
Importing Bank Transactions
After linking your accounts, you need to import bank transactions. This keeps your records accurate:
- Go to the ‘Banking’ tab.
- Select the bank account you linked.
- Click on ‘Update’ to fetch the latest transactions.
- Review the imported transactions.
- Match them with existing records or categorize them appropriately.
QuickBooks provides a simple interface to review and categorize transactions. Regularly updating transactions ensures accurate financial reports.
Setting Up Chart Of Accounts
Setting up the Chart of Accounts is an essential step in QuickBooks for small business accounting. It helps categorize and track your business transactions. This ensures accurate financial reporting and better decision-making. Let’s dive into the details.
Understanding Chart Of Accounts
The Chart of Accounts is a list of all accounts in your accounting system. It includes assets, liabilities, equity, income, and expenses. Think of it as a map that helps you track where your money comes from and where it goes.
Here is an example of a basic Chart of Accounts:
| Account Type | Account Name |
|---|---|
| Asset | Bank Account |
| Liability | Credit Card |
| Equity | Owner’s Equity |
| Income | Sales Revenue |
| Expense | Office Supplies |
Customizing Accounts
QuickBooks allows you to customize accounts to fit your business needs. This ensures your financial reports are accurate and useful.
- Go to the Chart of Accounts in QuickBooks.
- Select New to create a new account.
- Choose the Account Type and Detail Type.
- Enter a unique Account Name.
- Click Save and Close.
Here are some tips for customizing accounts:
- Use clear and descriptive account names.
- Group similar accounts together.
- Regularly review and update your Chart of Accounts.
Proper customization helps you keep track of your finances effectively. This makes reporting and analysis easier.
Managing Customers And Vendors
Setting up QuickBooks for your small business involves organizing your customers and vendors. This ensures smooth invoicing and timely payments. Here’s how you can manage customer and vendor information in QuickBooks efficiently.
Adding Customer Information
Maintaining accurate customer data is crucial for your business. Follow these steps to add customer information:
- Open QuickBooks and go to the Customers menu.
- Select Customer Center.
- Click the New Customer button.
- Fill in the customer details, including:
- Customer Name
- Contact Information
- Billing Address
- Phone Number
- Click Save to store the information.
Repeat these steps for each customer. This ensures all customer data is current and accessible.
Setting Up Vendor Profiles
Vendors are essential for supplying goods and services. Properly setting up vendor profiles is key:
- Navigate to the Vendors menu in QuickBooks.
- Select Vendor Center.
- Click the New Vendor button.
- Enter the vendor’s details, such as:
- Vendor Name
- Contact Person
- Address
- Phone Number
- Click Save to complete the profile.
Organizing vendor profiles helps in managing your business expenses effectively.
To sum up, adding accurate customer and vendor information in QuickBooks simplifies your accounting processes. This ensures your business runs smoothly.
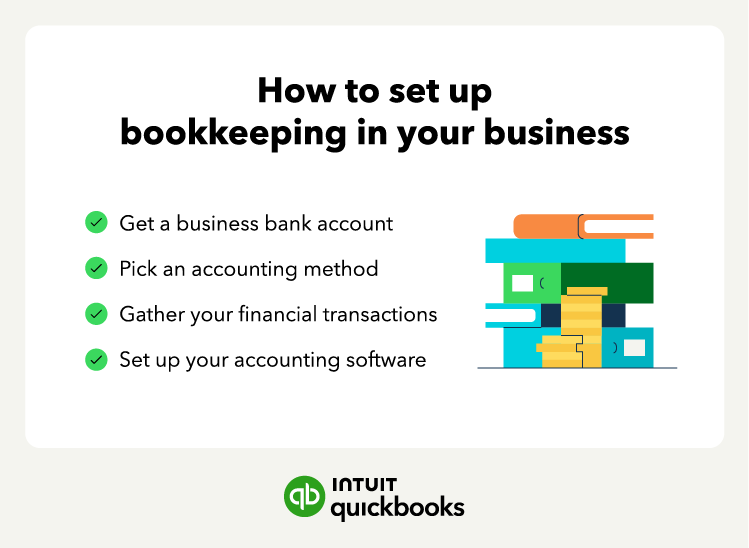
Credit: quickbooks.intuit.com
Creating And Sending Invoices
Setting up QuickBooks for small business accounting is a smart move. One crucial feature is creating and sending invoices. This helps businesses get paid faster and keep track of their finances. Let’s dive into how you can make the most of QuickBooks’ invoicing tools.
Invoice Template Customization
QuickBooks allows you to customize your invoice templates. This makes your invoices look professional and match your brand.
Follow these steps to customize your invoice template:
- Go to the Settings menu.
- Select Custom Form Styles.
- Click on New Style and choose Invoice.
- Use the customization tools to adjust the layout, colors, and logo.
- Save your changes.
Customizing your invoices can improve your brand image. It can also make your invoices easier for clients to read.
Scheduling Recurring Invoices
If you have regular clients, scheduling recurring invoices can save you time. QuickBooks makes this process simple.
Here’s how to set up recurring invoices:
- Open the Sales menu and select Invoices.
- Click on New Invoice.
- Fill in the necessary details.
- Click on Make Recurring.
- Set the schedule and frequency for the invoices.
- Save the recurring invoice template.
This feature ensures you never miss sending an invoice to your regular clients. It can help maintain a steady cash flow.
Using these tools in QuickBooks can streamline your invoicing process. This allows you to focus more on growing your business.
Tracking Expenses And Payments
Tracking expenses and payments is crucial for any small business. It ensures you know where your money is going. QuickBooks makes this process easy and efficient. It helps keep your finances organized and up-to-date. Below, we will explore how to record expenses and manage bills effectively.
Recording Expenses
First, log into your QuickBooks account. Navigate to the “Expenses” tab. Click on “New Transaction.” Choose “Expense” from the dropdown menu. Fill in the details like the payee, payment date, and amount. Select the appropriate account to categorize the expense. You can also attach a receipt for future reference. This keeps your records accurate and complete.
Managing Bills
QuickBooks makes managing bills simple. Go to the “Vendors” section. Click “Create Bill” to enter a new bill. Fill in the vendor details and the amount due. Set the due date to avoid late fees. Save the bill to record it in QuickBooks. You can also schedule payments to ensure timely payments. This keeps your vendor relationships strong.
By following these steps, you can efficiently track your expenses and manage bills. This helps maintain a clear financial picture of your business.

Credit: www.fourlane.com
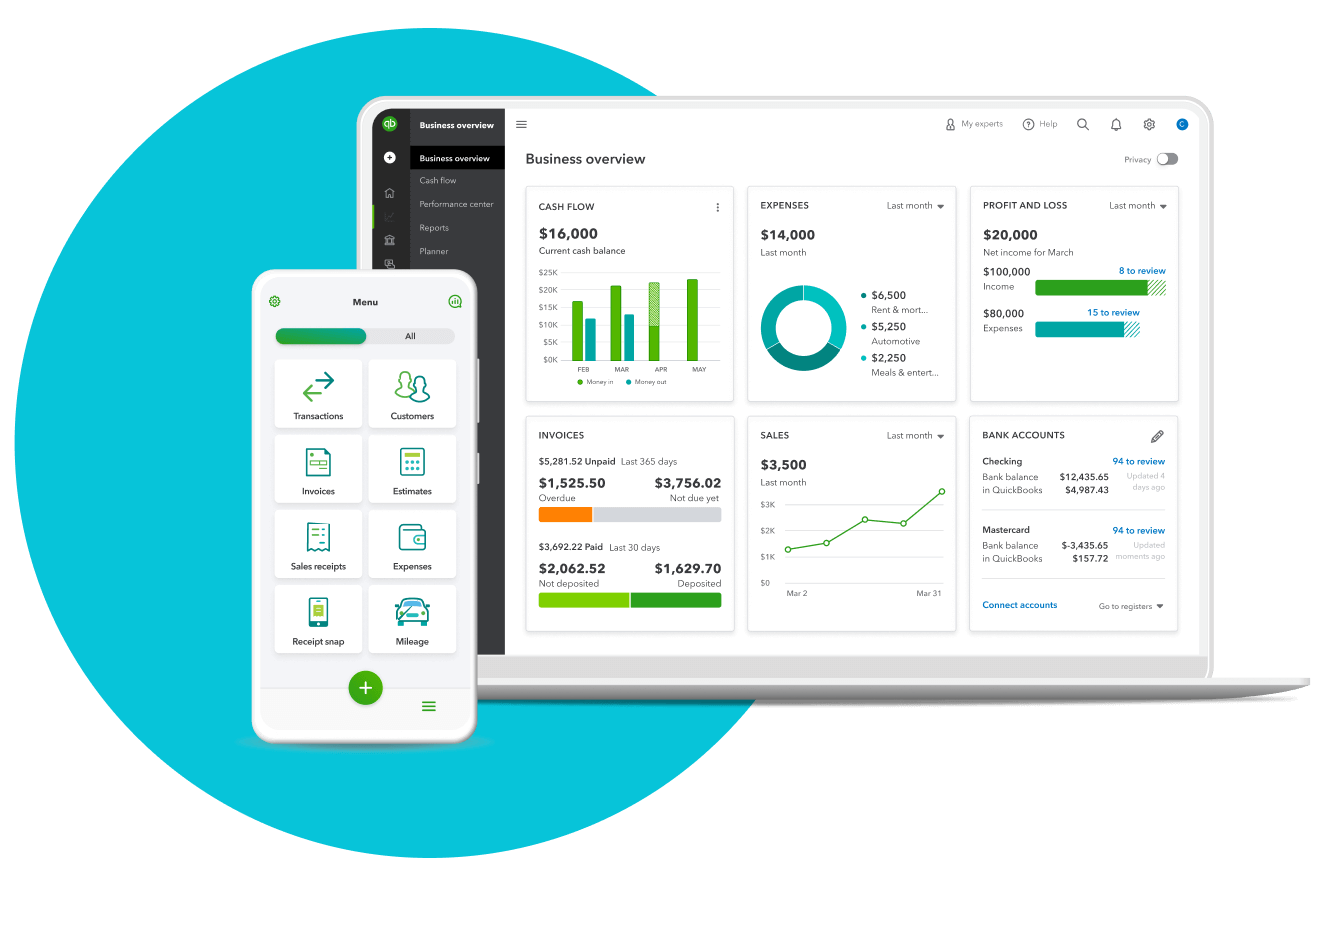
Generating Financial Reports
Generating financial reports in QuickBooks is vital for small business accounting. Reports help you understand your business’s financial health. They offer insights into income, expenses, and overall performance. Learn how to generate and customize these reports to suit your needs.
Types Of Reports
QuickBooks offers various types of financial reports. Each report serves a different purpose. The most common types include:
- Profit and Loss Report: Shows your income and expenses.
- Balance Sheet Report: Displays your assets, liabilities, and equity.
- Cash Flow Statement: Tracks the flow of cash in and out.
- Sales Report: Provides details on your sales performance.
- Accounts Receivable Aging: Lists unpaid customer invoices.
Customizing Report Settings
Customizing report settings in QuickBooks helps tailor reports to your needs. Follow these steps to customize:
- Open the report you want to customize.
- Click on the Customize button at the top.
- Select the date range for your report.
- Choose the desired display columns.
- Apply filters to narrow down the data.
- Click Run Report to generate your customized report.
With these steps, you can create reports that provide meaningful insights. Customization helps you focus on what matters most to your business.
Quickbooks Tips And Tricks
Setting up QuickBooks for your small business is a smart move. It simplifies accounting and financial tasks. Knowing some QuickBooks tips and tricks can help you get even more out of this powerful tool. Here are some useful insights to make your experience smoother and more efficient.
Keyboard Shortcuts
Using keyboard shortcuts can save you a lot of time. Here are some essential ones:
- Ctrl + I – Create Invoice
- Ctrl + W – Write Checks
- Ctrl + E – Edit Transaction
- Ctrl + F – Find Transaction
- Ctrl + J – Open Customer Center
- Ctrl + Q – Quick Report
- Ctrl + M – Memorize Transaction
Using these shortcuts can make your workflow more efficient. They help you navigate quickly through various tasks.
Best Practices
Following best practices ensures your accounting is accurate and organized. Here are some tips:
- Regular Backups: Always back up your QuickBooks data. This prevents data loss.
- Reconcile Accounts Monthly: Ensure your bank statements match your QuickBooks records. This keeps your financials accurate.
- Keep Software Updated: Update QuickBooks regularly. This gives you access to the latest features and security improvements.
- Use Classes and Locations: These features help you track income and expenses by department or location.
- Create Custom Reports: Tailor reports to your specific business needs. This helps you understand your financial data better.
Adopting these best practices can greatly improve your QuickBooks experience. They make managing your business finances easier and more effective.
Frequently Asked Questions
How Do I Set Up Quickbooks For My Small Business?
Setting up QuickBooks for your small business involves creating a new company file, setting up accounts, and entering your business details. Follow the setup wizard for guidance.
What Are The Initial Steps To Start Quickbooks?
Begin by downloading and installing QuickBooks. Next, create a company file and configure your business information and preferences.
Can I Use Quickbooks For Multiple Businesses?
Yes, you can use QuickBooks for multiple businesses. Each business requires a separate company file.
How Do I Customize Quickbooks For My Business Needs?
You can customize QuickBooks by setting up custom accounts, templates, and preferences to match your business operations.
Conclusion
Setting up QuickBooks is essential for small business accounting. This software simplifies financial tasks. Follow the steps to ensure accurate records. Regular updates keep data secure. QuickBooks helps in managing expenses and income. It also makes tax preparation easier. Small businesses benefit greatly from its features.
Start today and streamline your accounting process.